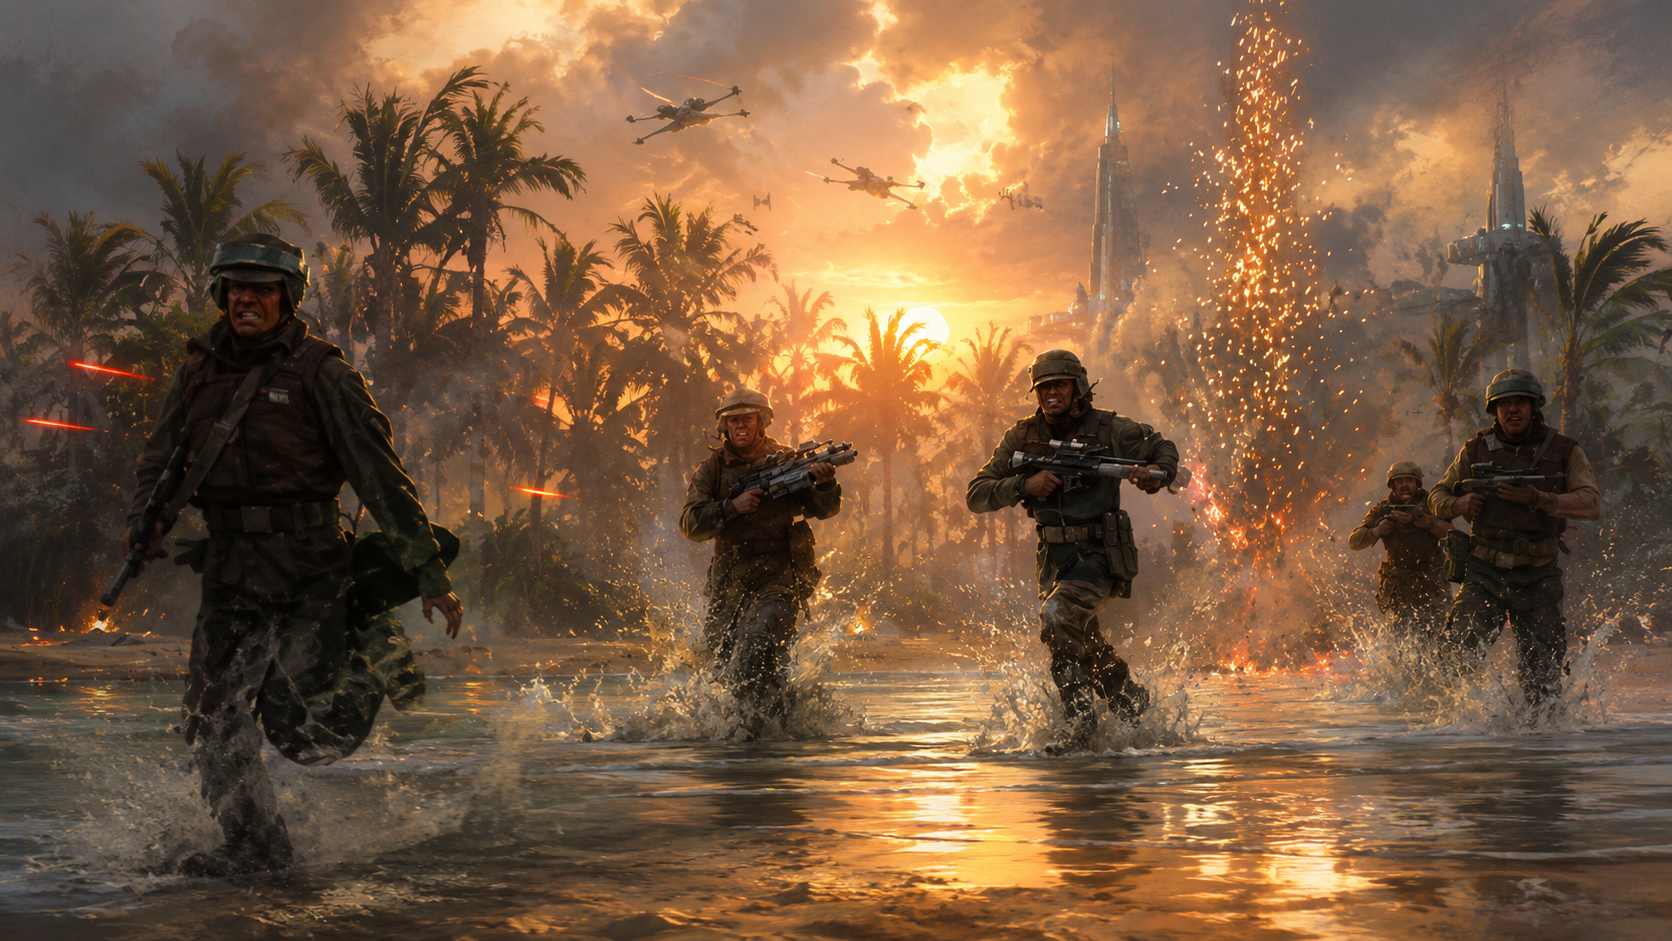
A new series: Map of the Week
Here's a thing our Map Builder is very good at that we haven't leaned into yet: recreating famous Star Wars locations you can actually fight on. So we're making a habit of it. Every so often we'll take an iconic scene, build it as a LEGO-scale tactical map, and hand you the whole thing — the map, a short guide to running it, the stat blocks, and a printable PDF.
First up is the obvious one.
Scarif — The Beach Assault
The climax of Rogue One: Rebels pinned on a tropical beach, sprinting cover to cover under Imperial fire to reach a bunker and transmit the Death Star plans. It's the best "cross the killzone" set-piece in the whole saga, and it makes a brutal, brilliant tactical encounter.
We built it as two connected acts — the beach, then the vault inside the bunker:
Scarif — The Beach Assault
- The Beach ↔ Data Vault — Blast door
- 1pier
- 2palms
- 3washed-up cargo
- 4coral outcrop
- 5Bunker breach
- 6Rebels land
- 7Shoretroopers
- 8Breach point
- 9Inner door
- 10Security console
- 11MASTER SWITCH
- 12Death Troopers
How to run it
Act 1 — The Beach
The Rebels land at the west shore (the green start markers). Everything east of them is open sand raked by two Imperial turrets and held by a shore garrison. The only cover on the crossing is the scattered palms, washed-up cargo, coral outcrops, and crates — and the deep water along the west edge is a drowning hazard, not an escape route.
Run it as a gauntlet: the turrets fire on anyone caught in the open at the top of each round, so the party has to leapfrog — one group lays down suppressing fire while the other sprints to the next piece of cover. It should take four or five tense rounds to reach the bunker's blast door, which they then have to breach (slice it with a Use Computer or Mechanics check, or blow it) to move to Act 2.
Act 2 — The Data Vault
Through the door, the ground turns to bunker deck plating. An entry chamber with cargo cover leads to an inner blast door, and beyond it the vault — where the master switch sits on the east wall, guarded by the Empire's best. Reaching it and holding it long enough to transmit is the objective.
Put the clock on them: every round the switch stays inactive, reinforcements arrive. The party has to push fast and hold the terminal, not clear the room methodically. That time pressure is what makes the finale sing.
The opposition
Pull these straight from the bestiary:
- The beach garrison — a squad of Stormtroopers at the facade, with Scout Troopers crewing the turrets. Numerous but not elite; the danger is the open ground, not any one trooper.
- The vault guards — Death Troopers. Few, but genuinely lethal. Two of them turning the vault into a killbox is the right difficulty spike for the finale.
The map's GM footnote has the full roster and placement. It suggests a party of around four or five at level 5–6; scale the trooper count and the Death Trooper number up or down to fit your table.
Make it yours
The map is free and ready to run right now:
- Open the full map + printable PDF — download the tiled PDF and lay it out at 1-inch-per-cell LEGO scale for the table.
- Customize it in the Map Builder — load the whole thing into the editor and reshape it: widen the beach, add a landing craft, move the turrets, change the objective. Save your own copy.
- Or build a map from scratch — the same tools that made Scarif are free for your own locations.
Next Map of the Week is already in the works. Rebellions are built on hope — and, apparently, on a really good beach map.